


Master the Glass Coating Process for Your Home and Vehicles
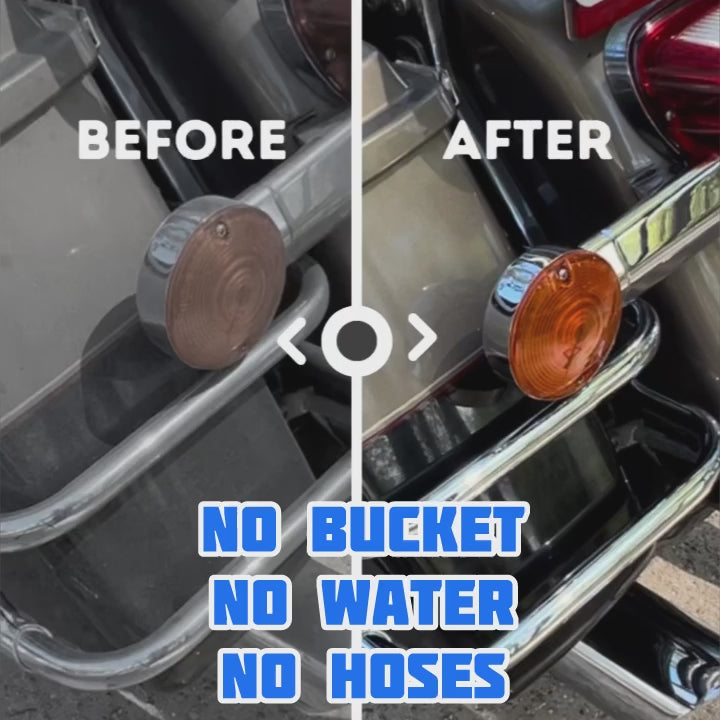
Applying a glass coating can make your windows or windshield look flawless and keep them safer from damage. Surprisingly, a single high-quality glass coating kit can offer up to two years of water repellency and scratch resistance for home or automotive glass. Most people assume it is all about the product you use, but success actually comes down to technique and preparation—a few careful steps make all the difference.
Table of Contents
- Step 1: Gather Necessary Materials And Tools
- Step 2: Prepare The Surface For Coating
- Step 3: Apply The Glass Coating Solution
- Step 4: Allow For Proper Curing And Bonding
- Step 5: Perform Final Inspection And Quality Check
Quick Summary
| Key Point | Explanation |
|---|---|
| 1. Gather essential materials before starting | Collect specific glass coating kits and tools including microfiber towels and cleaning solutions for effective application. |
| 2. Ensure thorough surface preparation | Thoroughly clean and inspect surfaces to eliminate contaminants that may hinder coating adhesion and durability. |
| 3. Apply the coating with precision | Use overlapping circular motions and a thin layer for uniform coverage, avoiding over-application to prevent streaks and bonding issues. |
| 4. Follow curing guidelines meticulously | Adhere to manufacturer curing times and conditions to achieve proper bonding for long-lasting protection of the coated surface. |
| 5. Conduct a final inspection for quality | Check under various lighting conditions and perform water droplet tests to ensure even application and optimal coating performance. |
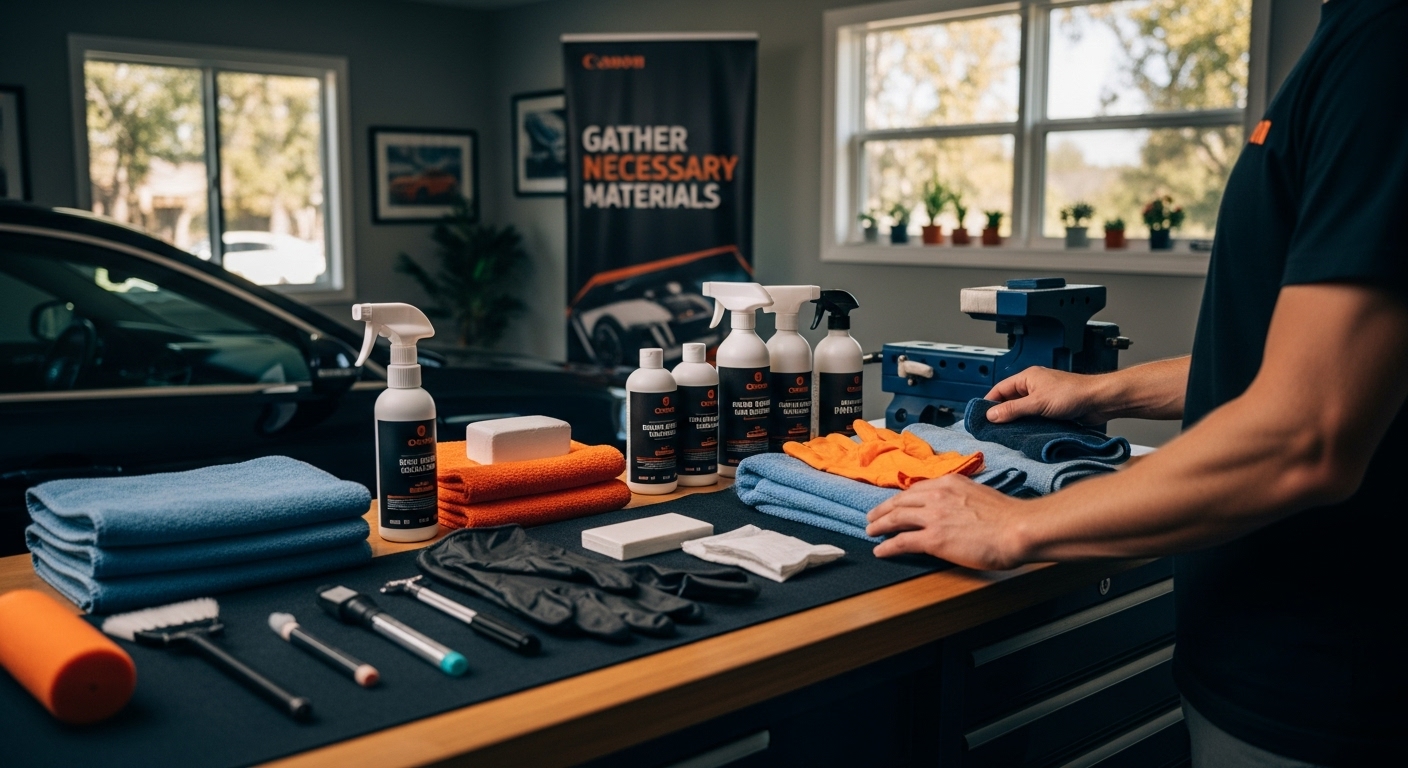
Step 1: Gather Necessary Materials and Tools
Successfully applying a glass coating requires careful preparation and having the right tools and materials at your disposal. This initial step sets the foundation for a professional and effective glass coating process that will protect and enhance surfaces on your home and vehicles.
Essential Materials for Glass Coating
Before beginning the glass coating process, you will need to collect a comprehensive set of materials. High-quality glass coating kits typically include specialized solutions, applicators, and cleaning agents designed to create a durable protective layer. Your primary requirements will include microfiber towels, cleaning solution, surface preparation chemicals, and the actual glass coating product.
For home and vehicle glass surfaces, select materials that are specifically formulated for your intended application. Automotive glass coatings differ from residential window treatments, so carefully read product specifications. Look for coatings that offer UV protection, water repellency, and scratch resistance.
Tools and Preparation Techniques
Preparing your workspace is crucial for achieving a flawless glass coating application. Your toolkit should include:
- Lint-free microfiber cloths
- Isopropyl alcohol for surface cleaning
- Protective gloves
- Soft foam or microfiber applicator pads
- Surface clay bar for removing contaminants
- Polishing cloth for final buffing
Temperature and environment play significant roles in successful glass coating. Work in a controlled setting between 60-80 degrees Fahrenheit with minimal dust and humidity. Direct sunlight can compromise the coating process, so choose a shaded or indoor workspace.
Careful surface preparation determines the longevity and effectiveness of your glass coating. Clean surfaces thoroughly using specialized cleaning solutions that remove oils, dirt, and previous residues. Read more about motorcycle surface preparation to understand the meticulous cleaning techniques professionals use.
Professional glass coating requires patience and precision. By gathering the right materials and understanding proper preparation techniques, you set yourself up for a successful application that will protect and enhance glass surfaces for months or even years to come.
Here is a concise summary table to help you quickly identify the essential tools and materials needed for a professional glass coating application process.
| Item | Purpose/Use | Notes |
|---|---|---|
| Glass coating kit | Provides the protective coating solution | Choose automotive or home-specific formula |
| Microfiber towels | Cleaning and buffing without leaving lint or streaks | Use lint-free, high-quality for best results |
| Isopropyl alcohol | Deep degreasing and contaminant removal | Crucial for final cleaning step |
| Clay bar | Removes embedded contaminants | Ideal for tough grime, sap, or mineral deposits |
| Applicator pads (foam or microfiber) | Even application of coating product | Keeps layer thin and uniform |
| Protective gloves | Protects hands from chemicals | Use nitrile or latex for durability |
| Polishing cloth | Final buffing and enhancing glass finish | Ensures residue free and glossy finish |
Step 2: Prepare the Surface for Coating
Surface preparation is the critical foundation that determines the success and longevity of your glass coating application. A meticulously cleaned and prepared surface ensures maximum adhesion, durability, and performance of the protective coating. Skipping or rushing this step can lead to uneven application, reduced protection, and potential coating failure.
Begin by thoroughly inspecting the glass surface for any existing contaminants, old coatings, or imperfections. Dirt, oils, water spots, and microscopic debris can significantly compromise the coating’s ability to bond properly. For vehicle windshields and home windows, use a combination of specialized cleaning solutions and careful techniques to create an immaculate surface.
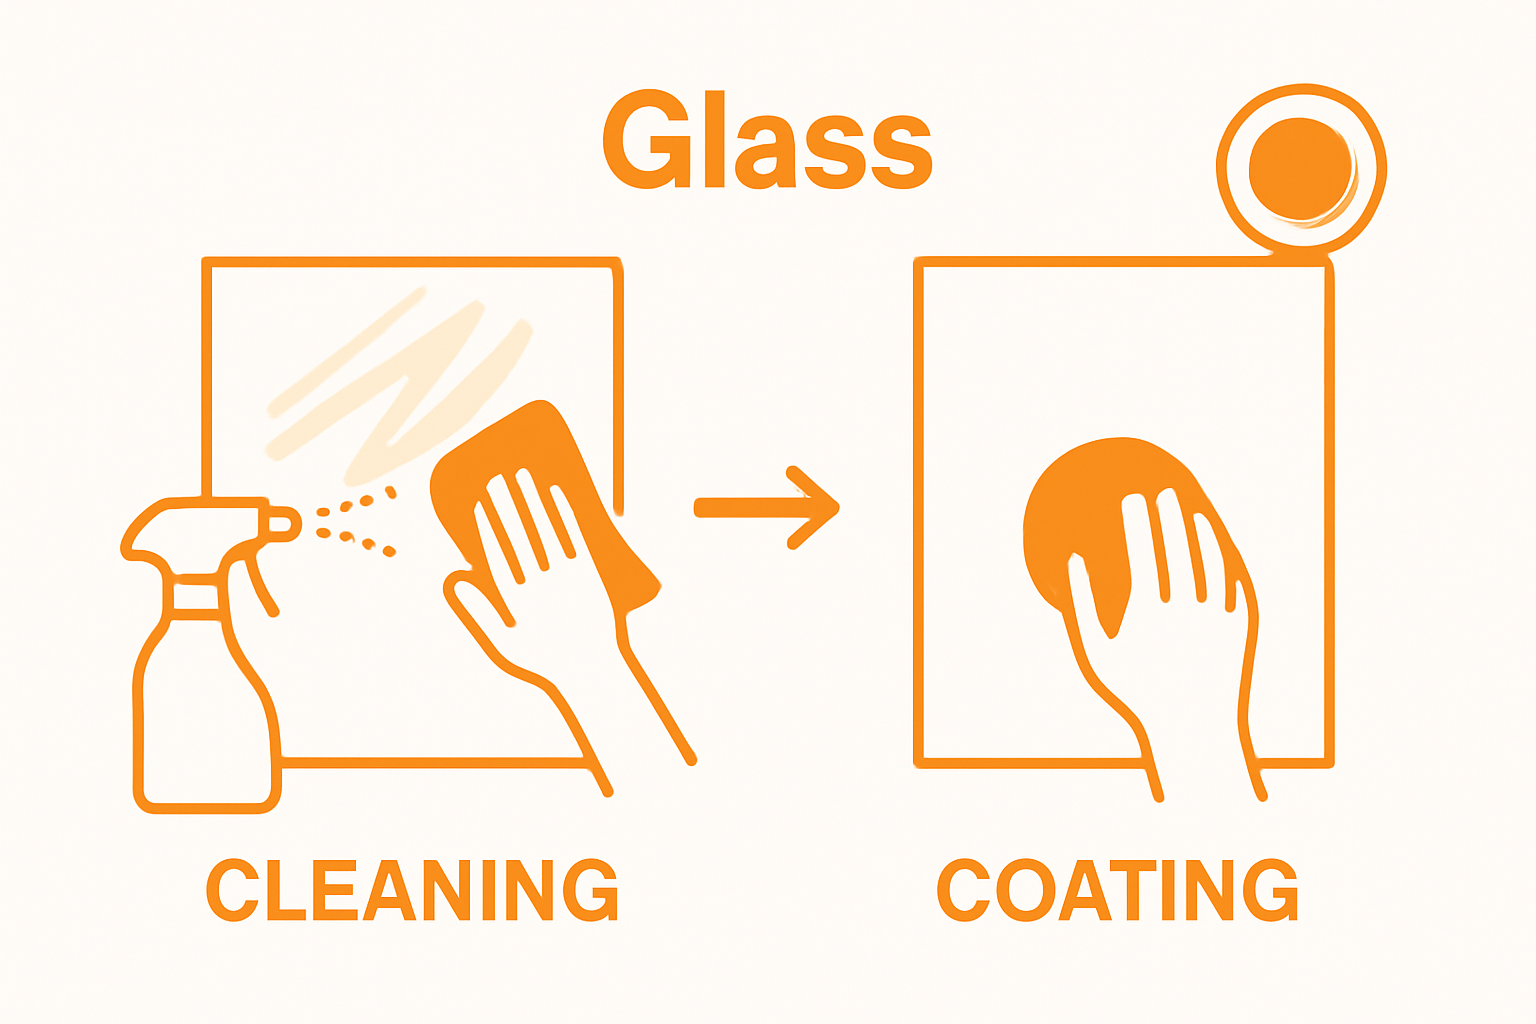
Cleaning and Decontamination Process
The cleaning process requires precision and patience. Start with a two-stage cleaning approach: first, remove loose surface contaminants, and then perform a deep cleaning to eliminate embedded grime. Professional-grade isopropyl alcohol solutions work exceptionally well for degreasing and preparing glass surfaces. Avoid household glass cleaners that often leave residual streaks or chemical films that can interfere with coating adhesion.
Work systematically across the surface using lint-free microfiber towels. Apply cleaning solution in a cross-hatch pattern, ensuring complete coverage without oversaturating the glass. Clay bar treatment can be particularly effective for removing stubborn contaminants like industrial fallout, tree sap, or mineral deposits that standard cleaning might miss.
Special considerations apply to different surfaces. Automotive glass requires different preparation techniques compared to residential windows or shower enclosures. Learn more about professional surface sealing techniques to understand the nuanced approaches for various material types.
Verification is key to successful surface preparation. After cleaning, perform a simple water beading test: sprinkle a few water droplets on the surface. If the water beads up uniformly and rolls off smoothly, you’ve achieved the desired level of cleanliness. Uneven water distribution or stubborn droplets indicate the need for additional cleaning.
Take your time during this crucial preparation stage. A surface prepared with meticulous attention to detail will reward you with a glass coating that provides superior protection, clarity, and longevity.
This step-by-step overview table highlights each main phase of the glass coating process with its key goal and a simple tip for success.
| Step | Objective | Quick Tip |
|---|---|---|
| 1 | Gather materials & tools | Choose application-specific products for home or vehicle |
| 2 | Prepare and clean surface | Use a two-stage cleaning and verify with a water beading test |
| 3 | Apply coating solution | Work in small sections using thin, overlapping motions |
| 4 | Curing and bonding | Allow full curing period; avoid touching surface |
| 5 | Final inspection & quality | Inspect under different lights; perform water beading test |
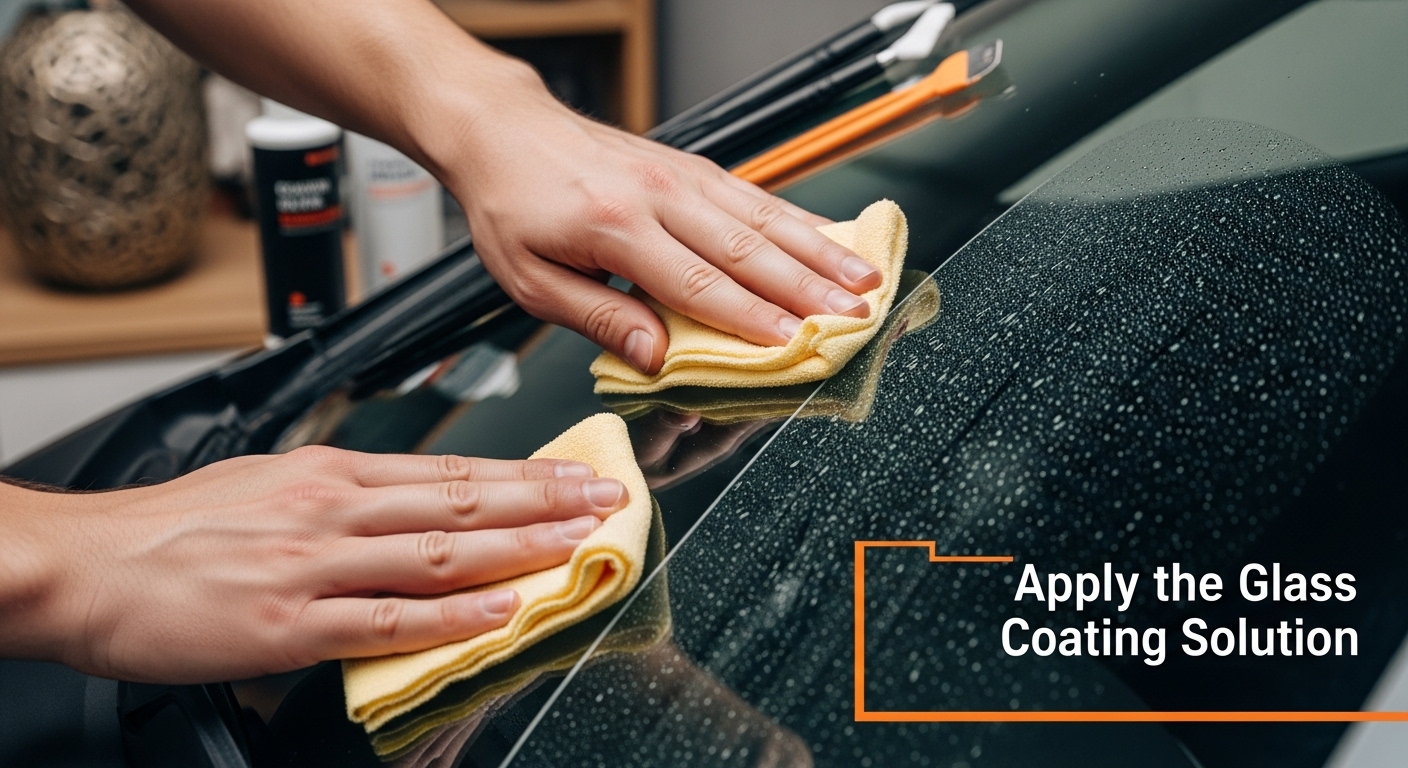
Step 3: Apply the Glass Coating Solution
Applying the glass coating solution represents the most critical phase of the entire protection process. This step transforms your meticulously prepared surface into a resilient, protected barrier that will resist environmental challenges and maintain its aesthetic appeal. Precision and technique are paramount during this application to ensure complete coverage and optimal bonding.
Begin by carefully reading the manufacturer’s specific instructions for your particular glass coating product. Different solutions require slightly varied application techniques, and following recommended guidelines ensures maximum effectiveness. Explore more about glass coating technologies to understand the nuanced science behind these protective treatments.
Application Techniques and Strategies
Work in a controlled environment with consistent temperature and minimal dust. Divide your glass surface into manageable sections to maintain consistent application. Use a high-quality microfiber applicator pad, holding it flat against the surface to distribute the coating evenly. Apply the solution using gentle, overlapping circular motions that ensure complete and uniform coverage.
The key to successful application lies in maintaining a thin, even layer. Too much product can lead to uneven drying, streaking, or incomplete bonding. Most professional-grade glass coatings require an extremely thin application that might seem almost invisible. Trust the process and resist the urge to over-apply.
Work methodically and patiently. Start from the top of the surface and move downward, allowing gravity to help create a smooth, consistent layer. Pay special attention to edges and corners where coating can sometimes accumulate or miss critical spots. Maintain a consistent pressure and speed throughout the application to prevent potential weak spots or inconsistent protection.
After initial application, allow the coating to rest for the manufacturer’s recommended time. This curing period allows the molecular bonds to form properly. Some products require a light buffing with a clean microfiber cloth to remove any excess solution and enhance the final finish.
Verify your application by checking for uniform coverage. The coated surface should appear slightly glossier and feel exceptionally smooth. Perform a water droplet test: water should immediately bead up and roll off the surface without leaving any residue. This indicates a successful, complete coating application that will provide robust protection against environmental contaminants, UV rays, and potential scratching.
Step 4: Allow for Proper Curing and Bonding
The curing and bonding phase is where your glass coating transforms from a liquid solution to a durable protective layer. This critical stage determines the coating’s long-term performance, durability, and protective capabilities. Patience is your most important tool during this process, as rushing or interrupting the curing can compromise the entire coating’s effectiveness.
Understand that each glass coating product has unique curing requirements. Manufacturers provide specific instructions that must be followed precisely. Temperature, humidity, and environmental conditions play significant roles in how effectively the coating bonds to the glass surface. Ideal curing conditions typically range between 60-75 degrees Fahrenheit with moderate humidity levels.
Curing Environment and Techniques
Create a controlled environment that minimizes potential contamination. Dust, moisture, and sudden temperature changes can interrupt the molecular bonding process. If applying the coating to a vehicle, consider indoor storage or a clean, enclosed garage. For home glass surfaces, choose a room with stable temperature and minimal air movement.
Most professional-grade glass coatings require a specific waiting period after application. This allows the microscopic chemical bonds to form properly, creating a strong, uniform protective layer. Avoid touching or cleaning the surface during this initial curing period. Even light contact can disrupt the delicate bonding process, potentially creating weak spots or uneven coverage.
Some advanced glass coating solutions require additional activation methods. Explore more about glass coating technologies to understand the nuanced application techniques. Certain products might need exposure to specific light conditions or require a gentle heat application to complete the bonding process.
Verification of proper curing involves careful observation. A correctly cured glass coating will demonstrate several key characteristics:
- Uniform, crystal-clear appearance without streaks or cloudiness
- Smooth surface that repels water instantly
- No visible residue or uneven patches
- Consistent shine and transparency
Typical curing times range from 24 to 72 hours, depending on the specific product and environmental conditions. During this period, minimize exposure to water, direct sunlight, and physical contact. Think of this as a critical rest period that allows the coating to develop its full protective potential.
Remember that proper curing is not just a waiting game but a precise process that requires attention to detail. The extra care you invest during this stage will translate into months or even years of enhanced glass protection and aesthetic appeal.
Step 5: Perform Final Inspection and Quality Check
The final inspection is your ultimate quality assurance step, transforming a good glass coating application into an exceptional protective treatment. This critical evaluation ensures that all your previous meticulous work culminates in a flawless, high-performance coating. Attention to detail becomes your most valuable tool during this comprehensive review process.
Begin your inspection under different lighting conditions to reveal any potential imperfections that might be invisible under standard illumination. Natural daylight, indoor lighting, and even direct sunlight will help you identify subtle variations in coating uniformity, thickness, and overall appearance. Learn more about professional surface inspection techniques to understand advanced evaluation methods.
Comprehensive Inspection Techniques
Carefully examine the entire coated surface using a systematic approach. Start from one corner and methodically move across the entire area, looking for signs of uneven application, streaking, or incomplete coverage. Use a clean, bright light source positioned at a 45-degree angle to highlight any microscopic imperfections that might compromise the coating’s performance.
Perform multiple verification tests to confirm the coating’s quality and effectiveness. The water beading test remains one of the most reliable indicators of a successful application. Gently sprinkle water droplets across the surface and observe their behavior. Perfect coating performance means water should:
- Instantly bead up into perfect spherical droplets
- Roll off the surface effortlessly
- Leave no water marks or residue
- Demonstrate consistent behavior across the entire surface
Check for potential weak spots, especially around edges, corners, and complex surface areas. These regions often require extra attention during the initial application and can reveal subtle application inconsistencies. Run your hand very lightly across the surface (without applying pressure) to feel for any unexpected texture variations or rough patches.
Consider environmental testing to validate your coating’s performance. Place the coated surface in different conditions typical of its intended use. For vehicle windshields, this might mean exposing the glass to morning dew, light rain, or direct sunlight. For home windows, simulate typical environmental challenges to ensure the coating maintains its protective properties.
Document your inspection findings. Take clear, well-lit photographs from multiple angles that can serve as a baseline for future reference. These images will help you track the coating’s long-term performance and provide valuable documentation of your professional-grade application.
Elevate Your Glass Protection with Proven Professional Solutions
You have invested time and precision in learning how to master the glass coating process, but achieving that flawless finish and long-lasting protection can still feel out of reach. One missed step in surface prep or curing means hours of effort wasted and streaks or weak spots left behind. You deserve confidence in every phase of the process, with products and guidance that eliminate guesswork and deliver professional results every time.

Bring the expertise of industry-leading sealants and coatings into your own home or garage today. Discover the difference with world-unique glass coatings and innovative cleaning solutions, made for those determined to protect and enhance every glass surface. Get everything you need to make your next application flawless – visit Shiny Kings and explore our motorcycle cleaning guides and the science behind glass coating now. Experience true clarity and strength. Do not settle for ordinary. See what is possible when you use the best – act now and redefine your glass protection.
Frequently Asked Questions
What is the importance of preparing the surface before applying a glass coating?
Proper surface preparation is crucial as it ensures maximum adhesion and durability of the glass coating. Skipping this step can result in uneven application, reduced protection, and potential coating failure.
How do I know when my glass coating has cured properly?
A properly cured glass coating will appear crystal clear without streaks, feel smooth to the touch, and cause water to bead up and roll off effortlessly. Typical curing times can range from 24 to 72 hours, depending on product specifications.
What materials and tools do I need for applying glass coating?
You’ll need a high-quality glass coating kit, lint-free microfiber cloths, isopropyl alcohol, protective gloves, foam or microfiber applicator pads, and a clay bar for surface preparation. These materials ensure a successful application and proper adherence.
Can I use the same glass coating for my home windows and vehicle windshields?
No, automotive glass coatings differ from those made for residential windows. It’s important to use products specifically formulated for each type of surface to ensure optimal protection and performance.