


Best Way to Clean Motorcycle for a Sparkling Finish
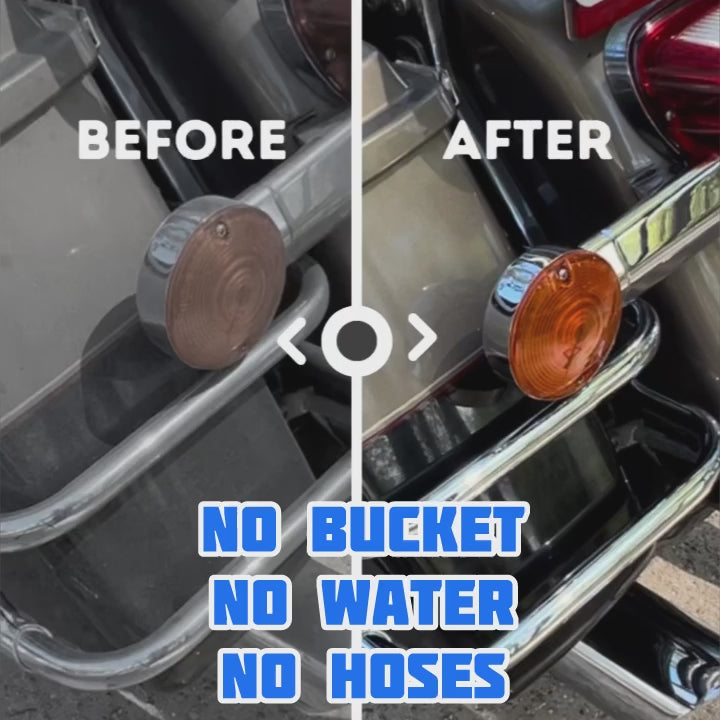
Keeping your motorcycle shining like new takes more than a quick rinse with the garden hose. Most riders are surprised to learn that the wrong cleaning materials can cause tiny scratches or damage in less than one wash. What makes the difference is a step-by-step approach with the right tools and clever inspection tricks, not just elbow grease. If you want your bike to look professionally detailed every time, it starts before you even touch a drop of water.
Table of Contents
- Step 1: Gather Your Cleaning Supplies and Equipment
- Step 2: Prepare the Motorcycle for Cleaning
- Step 3: Wash the Motorcycle Thoroughly
- Step 4: Dry and Polish the Surfaces
- Step 5: Inspect and Perform Final Touch-Ups
Quick Summary
| Key Point | Explanation |
|---|---|
| 1. Gather specialized cleaning supplies | Use motorcycle-specific soap, soft brushes, and microfiber towels to ensure proper cleaning without damage. |
| 2. Prepare workspace and motorcycle carefully | Choose a well-lit area with good drainage; protect electrical parts and inspect the bike before washing. |
| 3. Use thorough washing techniques | Rinse from top to bottom, employing a two-bucket method and focusing on critical areas for effective dirt removal. |
| 4. Dry immediately using quality towels | Prevent water spots by drying with microfiber towels and using compressed air for hard-to-reach spots. |
| 5. Conduct detailed final inspection and touch-ups | Check for missed spots, polish streaks, and apply a quick detailer spray for extra shine and protection. |
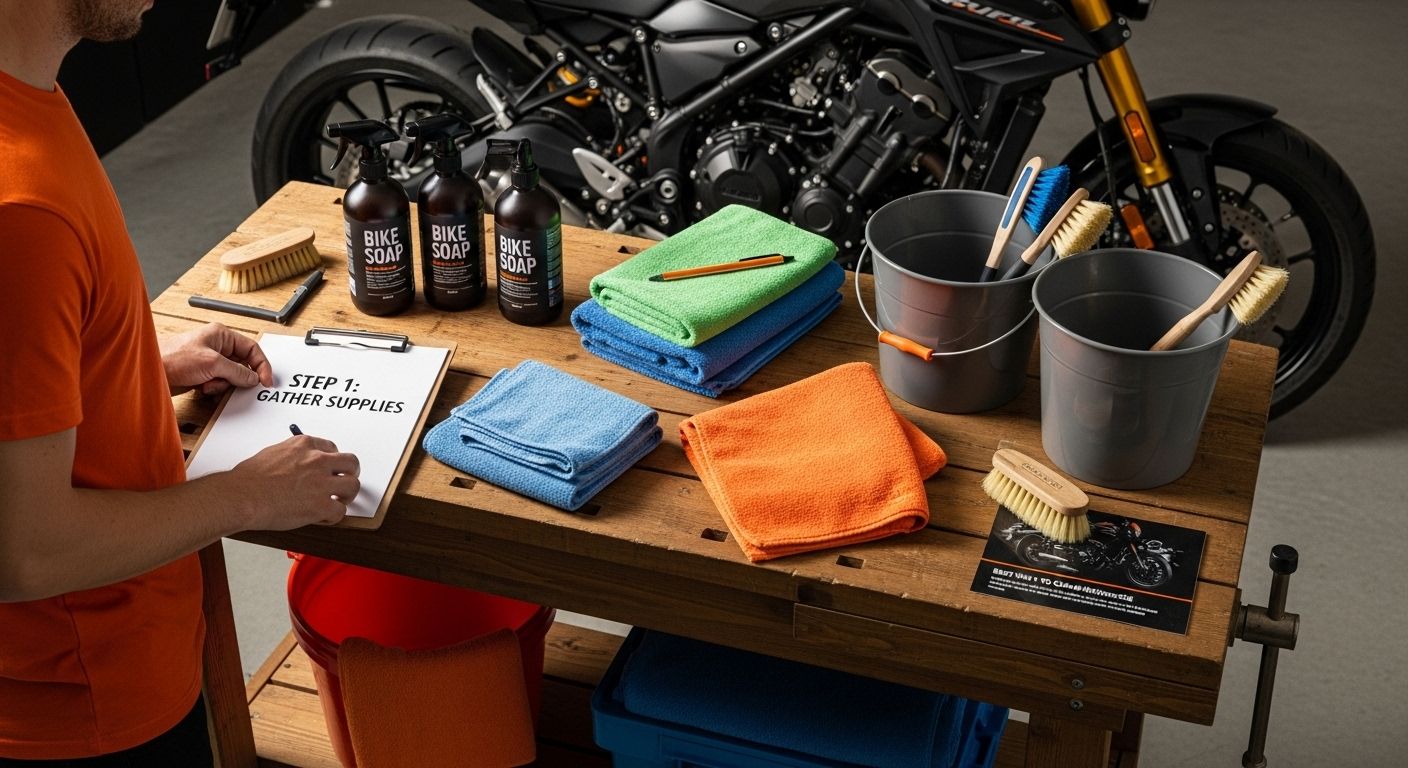
Step 1: Gather Your Cleaning Supplies and Equipment
Preparing the right cleaning supplies is crucial for achieving a sparkling motorcycle finish. Before diving into the washing process, you will need to assemble a comprehensive set of tools and cleaning materials that will make your motorcycle detailing efficient and effective.
Your cleaning arsenal should include several key items to ensure a thorough and safe cleaning experience. Start by collecting soft microfiber towels, which are essential for preventing scratches on your motorcycle’s delicate surfaces. You will need multiple towels - some for washing, some for drying, and others for applying specialized cleaning products. Read more about deep cleaning techniques to understand the importance of using the right materials.
Next, gather specialized motorcycle cleaning supplies. These include motorcycle-specific soap or gentle detergent, multiple buckets (one for soapy water and another for clean rinse water), soft-bristled brushes with different sizes for reaching tight spaces, and a high-quality chamois or microfiber drying cloth. Avoid using household cleaners or harsh chemicals that might damage your motorcycle’s paint or chrome surfaces.
Additional recommended tools include:
- Rubber gloves to protect your hands
- Wheel cleaner specific to motorcycle wheels
- Chain cleaning brush and lubricant
- Compressed air or soft-bristled detailing brush for hard-to-reach areas
Choosing the right cleaning products is as important as the cleaning technique itself. Invest in motorcycle-specific cleaning solutions that are designed to protect your bike’s finish while effectively removing dirt, road grime, and environmental contaminants. Having all your supplies organized and within reach before starting will streamline the entire cleaning process and help you achieve professional-level results.
Here is a summary table of essential tools and materials required for cleaning your motorcycle, detailing each item and its primary purpose.
| Item | Specification | Purpose |
|---|---|---|
| Microfiber towels | Soft, lint-free | Prevent scratches; wash, dry, and apply products |
| Motorcycle-specific soap | pH-balanced, non-abrasive | Safely removes dirt and grime |
| Buckets | Two (wash and rinse) | Separates clean and dirty water |
| Soft-bristled brushes | Various sizes | Cleans tight or intricate areas |
| High-quality drying cloth | Chamois or microfiber | Absorbs moisture, prevents spots |
| Rubber gloves | Chemical resistant | Protects hands from cleaners |
| Wheel cleaner | Motorcycle formula | Removes brake dust, road grime |
| Chain cleaning brush | Firm, non-metallic bristles | Cleans chain safely |
| Compressed air/blower | Low-pressure | Dries water from hard-to-reach areas |
Before beginning, ensure your workspace is well-lit, has good drainage, and is protected from direct sunlight. This preparation will set the stage for a successful and thorough motorcycle cleaning session.
Step 2: Prepare the Motorcycle for Cleaning
Preparing your motorcycle for cleaning is a critical step that sets the foundation for achieving a professional-grade sparkling finish. This preparatory phase ensures that you protect delicate components and create an optimal environment for thorough cleaning. Learn more about maintaining your motorcycle’s shine to complement your cleaning process.
Begin by selecting an appropriate workspace with good drainage and protection from direct sunlight. A clean, level surface like a concrete driveway or a dedicated washing area works best. Ensure the area is well-ventilated and has access to clean water. Position your motorcycle on a center stand or motorcycle lift if available, which provides better access to all surfaces and prevents unnecessary strain during cleaning.
Before introducing any water or cleaning solutions, conduct a comprehensive visual inspection of your motorcycle. Look for areas with heavy dirt accumulation, bug splatter, or road grime. Pay special attention to hard-to-reach areas like wheel wells, under the fenders, and around engine components. This initial assessment helps you target specific zones that might require extra attention or specialized cleaning techniques.
Prepare your motorcycle by taking some crucial protective steps:
- Cover electrical components like the battery and exposed electrical connections with plastic bags
- Close or seal any open exhaust pipes to prevent water intrusion
- Remove or cover sensitive accessories that might be damaged by water
If your motorcycle has been recently ridden, allow the engine and exhaust system to cool down completely before beginning the cleaning process. Hot surfaces can cause cleaning solutions to evaporate quickly or potentially damage certain finishes. A good rule of thumb is to wait at least 30 minutes after riding before starting your cleaning routine.
Finally, verify that all your cleaning supplies are within easy reach and that you have a clear, systematic approach to washing different motorcycle sections. This preparation transforms a potentially messy cleaning session into a methodical, efficient process that will help you achieve a showroom-quality finish.
The table below provides a step-by-step overview of the main motorcycle cleaning process, including key objectives and important considerations for each stage.
| Step | Objective | Key Consideration |
|---|---|---|
| 1 | Gather supplies and equipment | Use motorcycle-specific cleaners and soft towels |
| 2 | Prepare the motorcycle | Protect sensitive parts, allow engine to cool |
| 3 | Wash thoroughly | Use two-bucket method, detail critical areas |
| 4 | Dry and polish surfaces | Prevent water spots, use proper polishes |
| 5 | Final inspection and touch-ups | Check for missed spots, apply detailer spray |
Step 3: Wash the Motorcycle Thoroughly
Washing your motorcycle thoroughly is a meticulous process that requires patience, attention to detail, and a systematic approach. Proper washing techniques will not only restore your motorcycle’s appearance but also protect its finish and prevent potential long-term damage. Explore our comprehensive motorcycle cleaning solutions to enhance your cleaning experience.
Begin by rinsing your motorcycle with cool water using a gentle stream from a garden hose. Avoid high-pressure water streams that might damage delicate components or force water into electrical systems. Start from the top of the motorcycle and work your way down, allowing dirt and grime to flow downward naturally. This initial rinse helps loosen accumulated dirt and prepares the surface for more detailed cleaning.
Prepare two buckets: one with motorcycle-specific soap mixed with cool water, and another with clean rinse water. Use the soapy bucket and a soft microfiber wash mitt to clean your motorcycle section by section. Work methodically, starting from the top and moving systematically downward. Pay extra attention to areas prone to heavy dirt accumulation like wheels, lower fairings, and around the engine block.
Critical cleaning zones require special focus:
- Wheel rims and spokes where brake dust and road grime collect
- Engine cases and surrounding mechanical components
- Underside of fenders where mud and debris frequently accumulate
- Chrome and polished metal surfaces that show dirt more prominently
When cleaning delicate areas, use gentle circular motions with your microfiber mitt. Rinse your mitt frequently in the clean water bucket to prevent transferring dirt back onto the motorcycle’s surface. For stubborn dirt or bug splatter, use specialized motorcycle cleaning products designed to break down tough grime without damaging the paint or protective coatings.
After thoroughly washing each section, rinse completely with clean water to remove all soap residue. Use a clean, soft microfiber towel to dry the motorcycle immediately, preventing water spots from forming. Work in a shaded area to ensure the surface remains cool during the drying process. A final visual inspection will help you identify any missed spots or areas requiring additional attention, ensuring a comprehensive and sparkling clean finish that showcases your motorcycle’s true beauty.
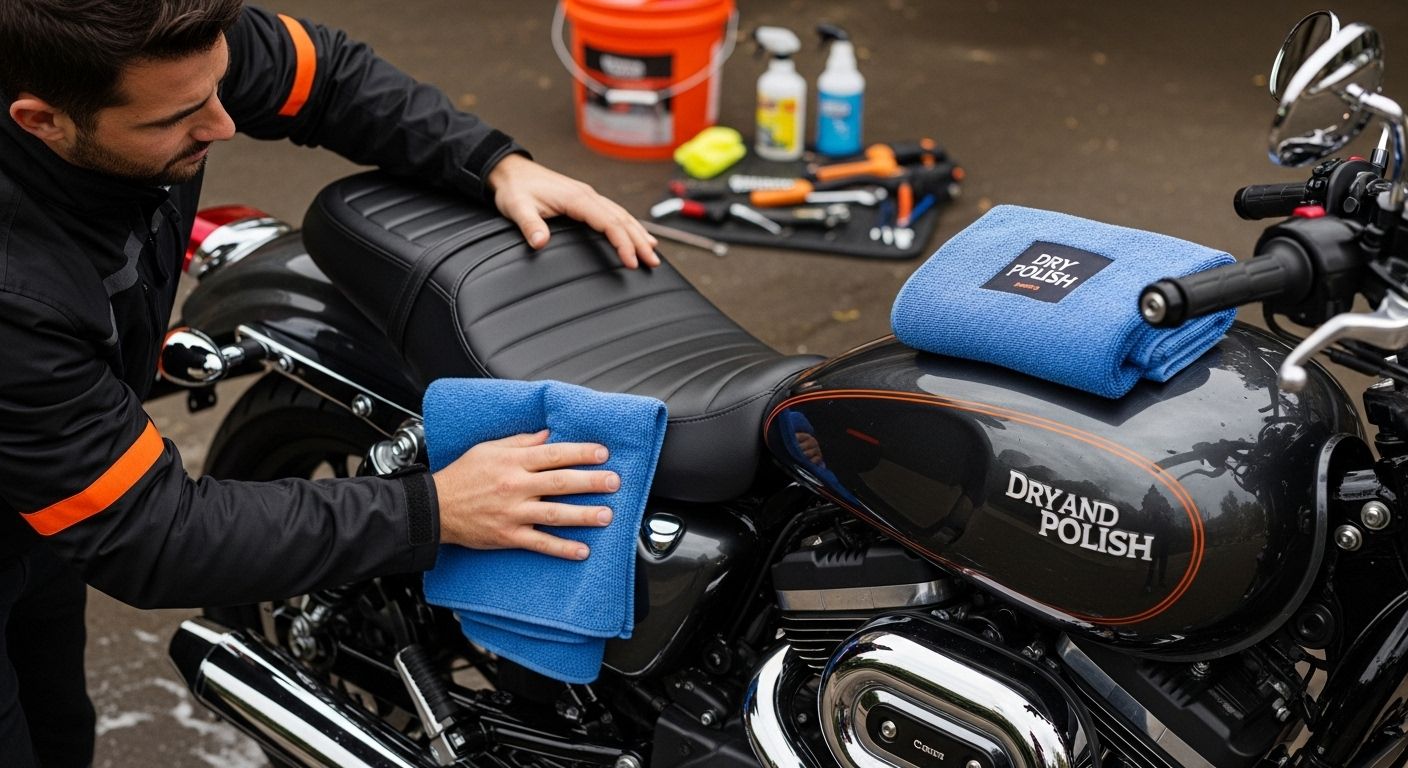
Step 4: Dry and Polish the Surfaces
Drying and polishing your motorcycle transforms a basic wash into a professional-level detailing experience. Proper drying techniques prevent water spots and prepare surfaces for a stunning, protective finish. Learn more about maintaining your motorcycle’s shine to elevate your detailing skills.
Begin the drying process immediately after washing to prevent water spots from forming. Use high-quality microfiber towels that are clean, soft, and completely lint-free. Start at the highest points of the motorcycle and work your way down, using gentle dabbing and sweeping motions. Avoid rubbing the surface aggressively, which can potentially introduce microscopic scratches into the paint or chrome surfaces.
For intricate areas like around the engine, exhaust pipes, and between mechanical components, use compressed air or specialized detailing air blowers. These tools help remove water from hard-to-reach spaces where traditional towels cannot effectively dry. Pay special attention to crevices and corners where water tends to collect, as lingering moisture can lead to potential corrosion or water spot formation.
Polishing critical motorcycle surfaces requires careful technique and the right products:
- Chrome components require specialized chrome polish
- Painted surfaces need automotive-grade polish matching your motorcycle’s finish
- Matte surfaces demand specific non-reflective polishing compounds
- Aluminum parts need metal-specific polishing solutions
Apply polish using circular motions with a clean microfiber applicator pad, working in small sections. Use minimal pressure and ensure the surface remains cool during application. For maximum shine and protection, apply the polish in a shaded area to prevent premature drying that could leave residue or uneven finish. After polishing each section, use a clean microfiber towel to buff the surface, revealing a deep, lustrous shine.
Finish by performing a comprehensive visual inspection under good lighting. Look for any remaining water droplets, polish residue, or areas that might require additional attention. This final step ensures your motorcycle not only looks immaculate but is thoroughly protected against environmental elements, leaving a professional-grade sparkling finish that showcases your meticulous care and attention to detail.
Step 5: Inspect and Perform Final Touch-Ups
The final inspection and touch-up phase is where your motorcycle transformation truly comes to life. Meticulous attention to detail separates a good cleaning from an exceptional detailing job. Discover essential tips for maintaining your motorcycle’s shine to elevate your maintenance skills.
Begin your comprehensive inspection by positioning your motorcycle under bright, natural light that reveals even the subtlest imperfections. Examine the motorcycle from multiple angles, slowly rotating around the entire vehicle. Look for any remaining water spots, polish residue, or areas that might have been missed during the previous cleaning stages. Use a clean microfiber towel to gently buff any detected imperfections, applying light pressure to avoid introducing new scratches.
Focus on critical areas that typically require extra attention during the final touch-up process. Chrome components should have a mirror-like shine without any streaks or water marks. Painted surfaces need to appear uniformly glossy, with no visible swirl marks or dull patches. Pay special attention to hard-to-reach areas like between engine fins, around the exhaust system, and beneath the fenders where dirt and cleaning residue can easily hide.
Key areas requiring careful final inspection include:
- Wheel rims and spoke intersections
- Instrument panel and windscreen
- Exhaust pipes and muffler
- Chain and sprocket area
- Brake calipers and disc surfaces
After visual inspection, perform a tactile examination by running a clean, dry hand gently over different surfaces. This technique helps detect any remaining rough spots, missed debris, or inconsistent polishing that your eyes might have overlooked. For motorcycles with matte finishes, use specialized matte surface detailers to restore the original texture without introducing unwanted shine.
Complete your final touch-up by applying a quick detailer spray to add an extra layer of protection and enhance the overall shine. Use smooth, consistent motions and minimal product to prevent product buildup. The goal is a crystal-clear, showroom-quality finish that not only looks impressive but also provides a protective barrier against environmental contaminants. A successful final touch-up transforms your motorcycle from simply clean to professionally detailed, reflecting your commitment to motorcycle maintenance and aesthetic excellence.
Achieve a True Sparkling Finish with Advanced Motorcycle Care Solutions
Does getting your motorcycle truly spotless feel like a struggle, no matter how careful you are during each cleaning step? If you are searching for a way to protect delicate surfaces and make your hard work last longer, you are not alone. The article explained how crucial it is to use the right motorcycle-specific cleaners and coatings for preventing scratches, achieving lasting shine, and making every detailing session count. What if the secret to that flawless result lies in the products you use?

Explore the Motorcycle Cleaners & Coatings for Every Ride collection, designed to remove even stubborn grime without harming paint or chrome. For those seeking the ultimate finish, our Best motorcycle cleaner and Graphene Ultra coating go beyond ordinary washes by sealing in shine and repelling dirt for longer-lasting brilliance. You invest the time in carefully following every step, so make it truly shine by choosing products trusted by enthusiasts worldwide. See all of our world-unique innovations at https://shinykings.com and give your motorcycle the professional finish it deserves, starting today.
Frequently Asked Questions
What cleaning supplies do I need to clean my motorcycle for a sparkling finish?
You will need soft microfiber towels, motorcycle-specific soap, multiple buckets, soft-bristled brushes, and a high-quality drying cloth. Additional items like rubber gloves, wheel cleaner, and a chain cleaning brush are also recommended.
How should I prepare my motorcycle before washing it?
Begin with a visual inspection to identify heavy dirt areas. Cover electrical components and exhaust pipes, and remove any sensitive accessories. Make sure your workspace is suitable for washing and that all cleaning supplies are within reach.
What techniques should I use for washing my motorcycle?
Use a gentle stream of water to rinse your motorcycle, then wash section by section with a soapy microfiber mitt. Rinse frequently to prevent dirt from being reapplied and pay extra attention to areas that collect grime, such as the wheels and engine.
How can I ensure a professional-level finish when drying and polishing my motorcycle?
Immediately dry your motorcycle with high-quality microfiber towels, starting from the top down. Use compressed air for hard-to-reach areas, and apply polish in small sections using gentle circular motions. Ensure a thorough inspection post-polishing to catch any imperfections.