


Best Way to Seal Pavers for Long-Lasting Protection
Protecting your paver patio or driveway with the right sealer can add years to its life and keep it looking fresh. Most people rush to coat their pavers but forget that just one mistake could mean peeling, bubbles, or even permanent stains. Smooth results are not about buying the fanciest sealer. They actually come from a few simple steps that almost everyone skips.
Table of Contents
- Step 1: Prepare The Paver Surface For Sealing
- Step 2: Choose The Right Sealer For Your Pavers
- Step 3: Apply The Sealer Evenly With Proper Technique
- Step 4: Allow Sealer To Cure According To Manufacturer Instructions
- Step 5: Inspect The Sealed Pavers For Consistency And Coverage
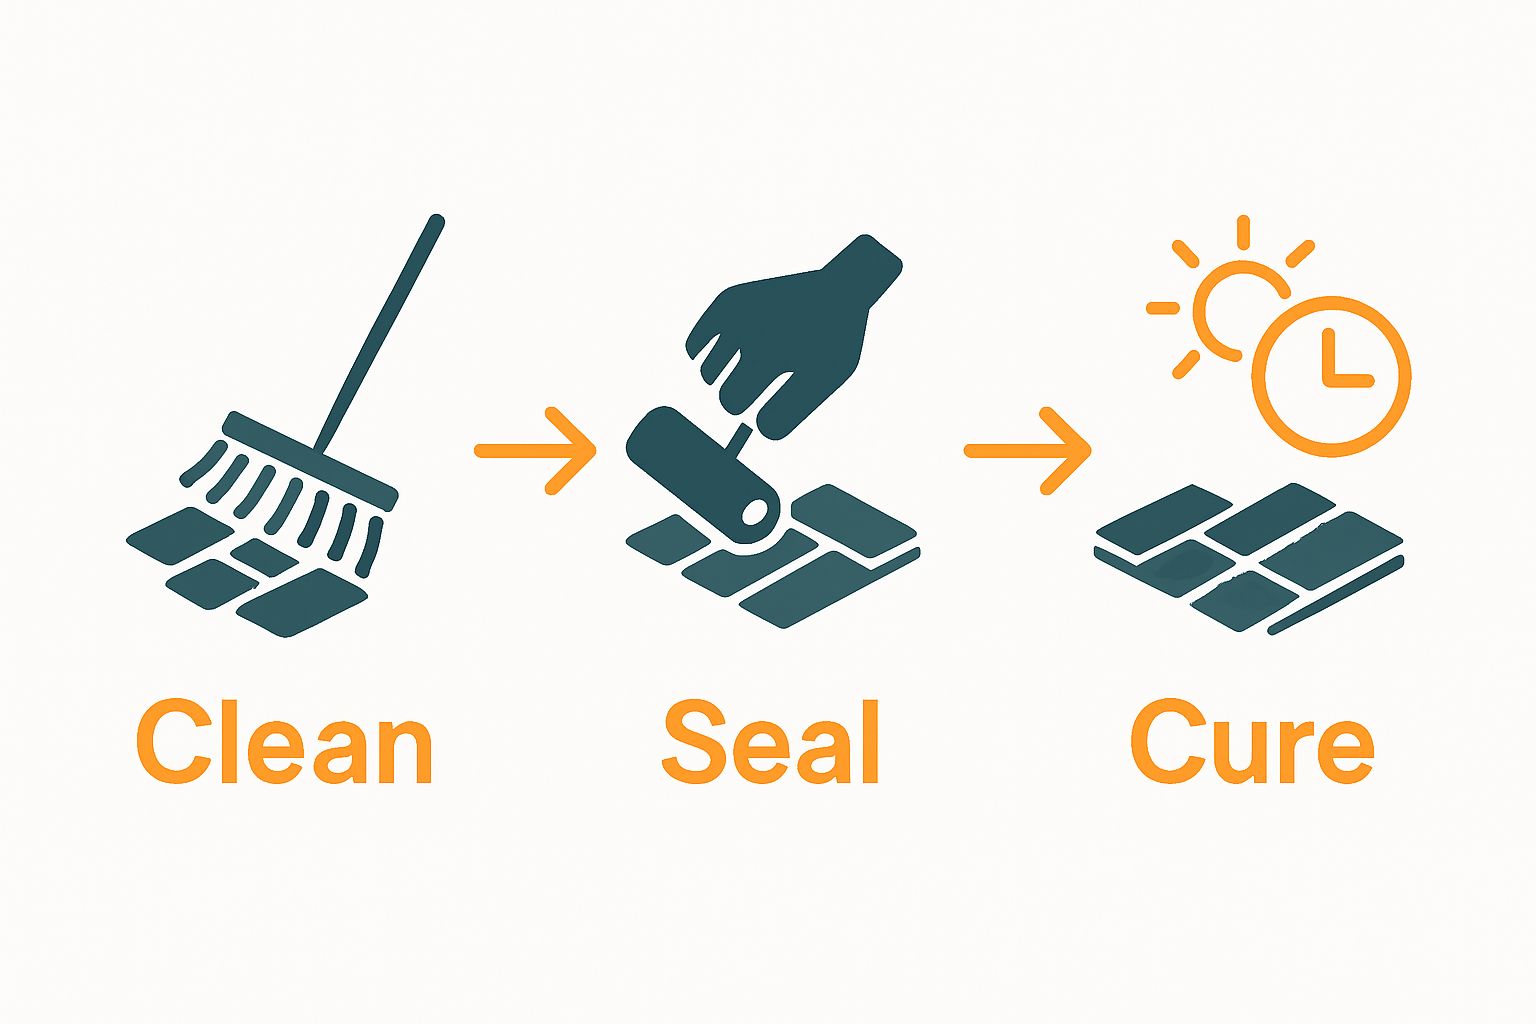
Quick Summary
| Key Point | Explanation |
|---|---|
| 1. Thoroughly clean pavers before sealing | Ensure all dirt, debris, and organic materials are removed to achieve effective sealant adhesion and longevity. |
| 2. Select the right type of sealer | Choose a sealer compatible with your paver material, considering traffic, aesthetics, and environmental factors. |
| 3. Apply sealer evenly in sections | Use proper tools for application, maintaining a wet edge and avoiding pooling for a uniform coating. |
| 4. Allow adequate curing time | Keep the sealed pavers undisturbed for the recommended time to ensure the sealant forms a strong protective barrier. |
| 5. Conduct a detailed post-application inspection | Check for consistency, color uniformity and any application flaws to ensure a quality finish and long-lasting protection. |
Step 1: Prepare the Paver Surface for Sealing
Preparing your paver surface is a critical first step that determines the success and longevity of your sealing project. The goal is to create a clean, dry, and smooth surface that allows the sealant to penetrate and bond effectively. Proper preparation prevents potential issues like uneven coverage, bubbling, or premature wear that can compromise your entire sealing effort.
Begin by thoroughly cleaning the paver surface, which requires more than a simple sweep. You will need to remove all loose debris, dirt, and organic materials using a stiff bristle broom or brush. Pay special attention to spaces between pavers where leaves, moss, and small stones can accumulate. For stubborn dirt or moss, use a pressure washer set at a moderate pressure to avoid damaging the paver surface. Allow the surface to dry completely for at least 24 to 48 hours after washing.
Next, inspect your pavers for any existing damage, cracks, or uneven areas. Small repairs now can prevent significant problems later. Fill any minor cracks with appropriate paver joint sand or repair compound, ensuring a smooth, level surface. If you notice larger structural issues or significant damage, consider consulting a professional before proceeding with sealing.
Before applying any sealant, conduct a moisture test to confirm the surface is completely dry. Place a small piece of clear plastic on different areas of the paver surface and seal the edges. Leave it for about an hour and check for condensation underneath. If you see moisture, wait longer and retest. Moisture is the enemy of proper sealant application, and applying sealant to a damp surface can lead to poor adhesion and potential long-term damage.
To ensure optimal results, gather the necessary tools and protective equipment before starting. You will need:
Here is a summary table of required tools and materials mentioned for preparing and sealing pavers, including their main purpose for each stage.
| Tool/Material | Stage of Use | Purpose |
|---|---|---|
| Stiff bristle broom/brush | Surface Preparation | Remove dirt, debris, and organic materials |
| Pressure washer (optional) | Surface Preparation | Deep-clean and remove stubborn grime/moss |
| Paver joint sand/repair compound | Surface Repair | Fix minor cracks, level surface |
| Clear plastic sheet | Moisture Test | Check for surface dryness before sealing |
| Safety glasses | Preparation & Sealing | Protect eyes from dust/chemicals |
| Rubber/chemical-resistant gloves | Preparation & Sealing | Protect hands during cleaning and sealing |
| Dust mask | Preparation | Prevent inhalation of dust/particles |
| Synthetic roller/sprayer | Sealer Application | Apply sealer evenly across the surface |
| Paint tray | Sealer Application | Hold and distribute sealer for rollers |
| Painter’s tape/plastic sheeting | Sealer Application | Protect adjacent surfaces from splatter |
| Knee pads | Sealer Application | Increase comfort while working on pavers |
- Stiff bristle broom or brush
- Pressure washer (optional)
- Paver joint sand or repair compound
- Clear plastic sheet
- Safety glasses
- Rubber gloves
- Dust mask
Learn more about preparing surfaces for professional sealing to ensure you have all the right techniques and tools for a successful project.
Step 2: Choose the Right Sealer for Your Pavers
Selecting the appropriate sealer is a crucial decision that directly impacts the appearance, durability, and protection of your paver surface. Your choice will determine how well your pavers resist stains, moisture, UV damage, and general wear and tear. Understanding the different types of sealers and their specific characteristics will help you make an informed decision that matches your unique paver surface and environmental conditions.
Pavers come in various materials including concrete, natural stone, and clay brick, each requiring a slightly different sealing approach. Penetrating sealers are excellent for those wanting to preserve the natural appearance of their pavers while providing deep protection. These sealers work by filling the microscopic pores in the stone, creating a barrier that repels water and prevents stain absorption. Water-based penetrating sealers are typically recommended for most residential paver applications because they offer excellent protection without significantly altering the surface’s original look.
For homeowners seeking additional visual enhancement, film-forming sealers create a protective layer on top of the pavers. These sealers can provide a glossy or wet look, intensifying the color of your pavers and creating a more polished appearance. However, they require more maintenance and may need reapplication more frequently than penetrating sealers. When choosing between these options, consider factors like your local climate, the amount of foot traffic, and whether the pavers are in a decorative or high-use area like a driveway or patio.
The following table compares the two primary types of paver sealers discussed, helping you quickly see their main characteristics and suitability for different needs.
| Sealer Type | Appearance After Application | Maintenance Needs | Ideal For |
|---|---|---|---|
| Penetrating Sealer | Maintains natural look | Lower | Residential patios, driveways |
| Film-Forming Sealer | Glossy or wet look; enhanced color | Higher | Decorative/high-use areas |
Before making a final selection, consider these critical factors for optimal sealer performance:
- Compatibility with your specific paver material
- Expected foot or vehicle traffic
- Local climate and exposure to sunlight
- Desired aesthetic finish (natural vs. enhanced look)
- Long-term maintenance requirements
Check out our comprehensive guide on selecting the best concrete sealer to dive deeper into the nuanced world of paver protection. By carefully evaluating these aspects, you can choose a sealer that not only protects your investment but also maintains the beauty of your outdoor surfaces for years to come.
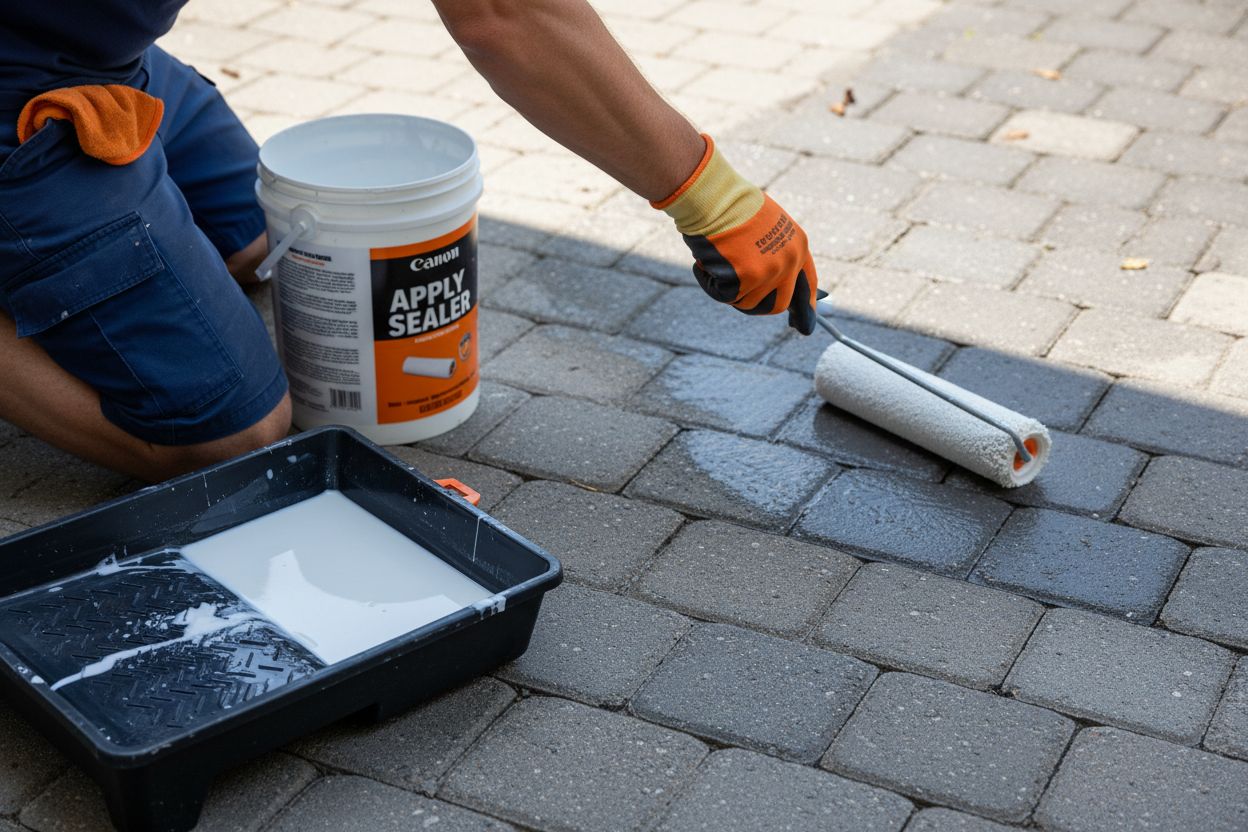
Step 3: Apply the Sealer Evenly with Proper Technique
Applying sealer to your pavers requires precision, patience, and the right technique to ensure complete and uniform coverage. The goal is to create a protective layer that penetrates evenly without pooling, streaking, or leaving untreated areas that could compromise the entire surface’s integrity. Your approach during this step will directly determine the longevity and effectiveness of your paver protection.
Start by selecting the appropriate application tool based on your sealer type and paver surface. Rollers with synthetic fibers work best for smooth surfaces, while sprayers provide more uniform coverage for textured pavers. Always work in small, manageable sections to maintain a consistent wet edge and prevent uneven application. Begin at the farthest point from your exit path, moving systematically across the surface to avoid stepping on freshly sealed areas. Hold your roller or sprayer at a consistent angle, typically 6 to 8 inches from the surface, ensuring steady and overlapping strokes that create a uniform coating.
Temperature and weather conditions play a critical role in successful sealer application. Choose a day with moderate temperatures between 50 and 80 degrees Fahrenheit, avoiding direct sunlight or high humidity. These conditions allow the sealer to cure properly without rapid evaporation or moisture interference. Apply thin, even coats rather than one thick layer. Most paver sealers require two light applications, with sufficient drying time between coats.
 Allow 15 to 20 minutes between coats, and ensure each layer is completely dry before applying the next. This approach prevents bubbling, ensures deeper penetration, and creates a more durable protective barrier.
To guarantee professional results, gather these essential tools before starting:
- Synthetic roller or low-pressure sprayer
- Paint tray
- Painter’s tape
- Plastic sheeting
- Safety glasses
- Chemical-resistant gloves
- Knee pads for comfort
Explore professional techniques for sealing outdoor surfaces to refine your approach. After application, allow the sealer to cure completely before walking or placing furniture on the surface, typically 24 to 48 hours depending on the specific product and environmental conditions.
Step 4: Allow Sealer to Cure According to Manufacturer Instructions
The curing process is a critical phase that transforms your freshly applied sealer from a liquid coating into a robust protective barrier for your pavers. This step requires patience, careful attention to environmental conditions, and strict adherence to the manufacturer’s specific instructions. Proper curing determines the longevity, durability, and overall effectiveness of your sealing project.
Immediately after application, your sealed surface will appear wet and vulnerable. During this initial curing period, it is crucial to prevent any contact with the surface. This means keeping people, pets, vehicles, and outdoor furniture completely off the pavers. Most sealers require a minimum of 24 to 48 hours of undisturbed drying time, but some specialized formulations might need up to 72 hours for complete curing. Temperature and humidity play significant roles in this process. Ideal curing occurs in moderate temperatures between 50 and 75 degrees Fahrenheit with low humidity. Direct sunlight can accelerate drying but may also cause uneven curing, so aim for a shaded or partially shaded environment during the initial curing phase.
Monitoring the curing process involves more than simply waiting. Check the surface periodically for any signs of improper application such as white residue, streaking, or uneven coloration. These could indicate moisture trapped beneath the sealer or application errors that might require professional intervention. Some sealers develop full chemical resistance and water repellency gradually over several days to a week, so avoid pressure washing or aggressive cleaning during this initial period. Be prepared to protect the area from unexpected rain or moisture by having plastic sheeting or tarps ready to cover the surface quickly if needed.
To ensure successful curing, remember these key guidelines:
- Keep the surface completely dry and free from foot traffic
- Maintain consistent ambient temperature
- Avoid washing or cleaning the sealed area
- Monitor for any unusual visual changes
- Follow manufacturer’s specific time recommendations
Discover long-term protection strategies for your outdoor surfaces and learn from real-world experiences. By respecting the curing process, you maximize your investment and ensure your pavers remain protected and beautiful for years to come.
Step 5: Inspect the Sealed Pavers for Consistency and Coverage
Inspecting your newly sealed pavers is the final critical step that ensures your hard work and investment have resulted in a professional, protective finish. This detailed examination allows you to identify and address any potential issues before they become long-term problems that could compromise the integrity of your paver surface. A thorough inspection is your last line of defense in achieving a flawless sealing application.
Begin your inspection during daylight hours, preferably with natural sunlight, which reveals subtle variations and imperfections more effectively than artificial lighting. Walk the entire sealed surface systematically, examining each section carefully from multiple angles. Look for telltale signs of uneven application such as streaking, pooling, or areas with different sheens that might indicate inconsistent coverage. Pay special attention to edges, corners, and areas around obstacles like steps or landscaping features where application can be more challenging. Running your hand lightly across the surface can help you detect textural irregularities that might not be immediately visible to the eye.
Specific visual cues can reveal potential issues with your sealer application. Watch for white hazy areas, which could indicate moisture trapped beneath the sealer, or dark spots suggesting inadequate coverage. Some sealers may appear slightly different when first applied compared to their final cured state, so take detailed photographs for reference. If you notice significant inconsistencies, it might be necessary to lightly sand and reapply the sealer in problem areas. However, minor imperfections often level out during the complete curing process, so resist the urge to immediately correct every perceived flaw.
To conduct a comprehensive inspection, consider these critical observation points:
- Check for uniform color and sheen across entire surface
- Examine edges and hard-to-reach areas carefully
- Look for white hazy spots or uneven absorption
- Test water beading in small, inconspicuous areas
- Verify no residual dust or debris remains on surface
Learn from long-term outdoor surface protection experiences and understand how proper initial inspection can prevent future maintenance challenges. Remember, patience during this final step can save you significant time and resources in future repairs.
Secure Lasting Beauty and Protection for Your Pavers
If you are looking for the best way to keep your pavers protected year-round, you know that cleaning, choosing the right sealer, and ensuring even coverage are only half the challenge. The real struggle comes when you want professional results that last, without wasting time or money on short-lived solutions. Worrying about patchy finishes, water intrusion, or weather damage can turn a simple project into an ongoing headache. Choosing high-quality products designed specifically for paver surfaces is key to long-term satisfaction.
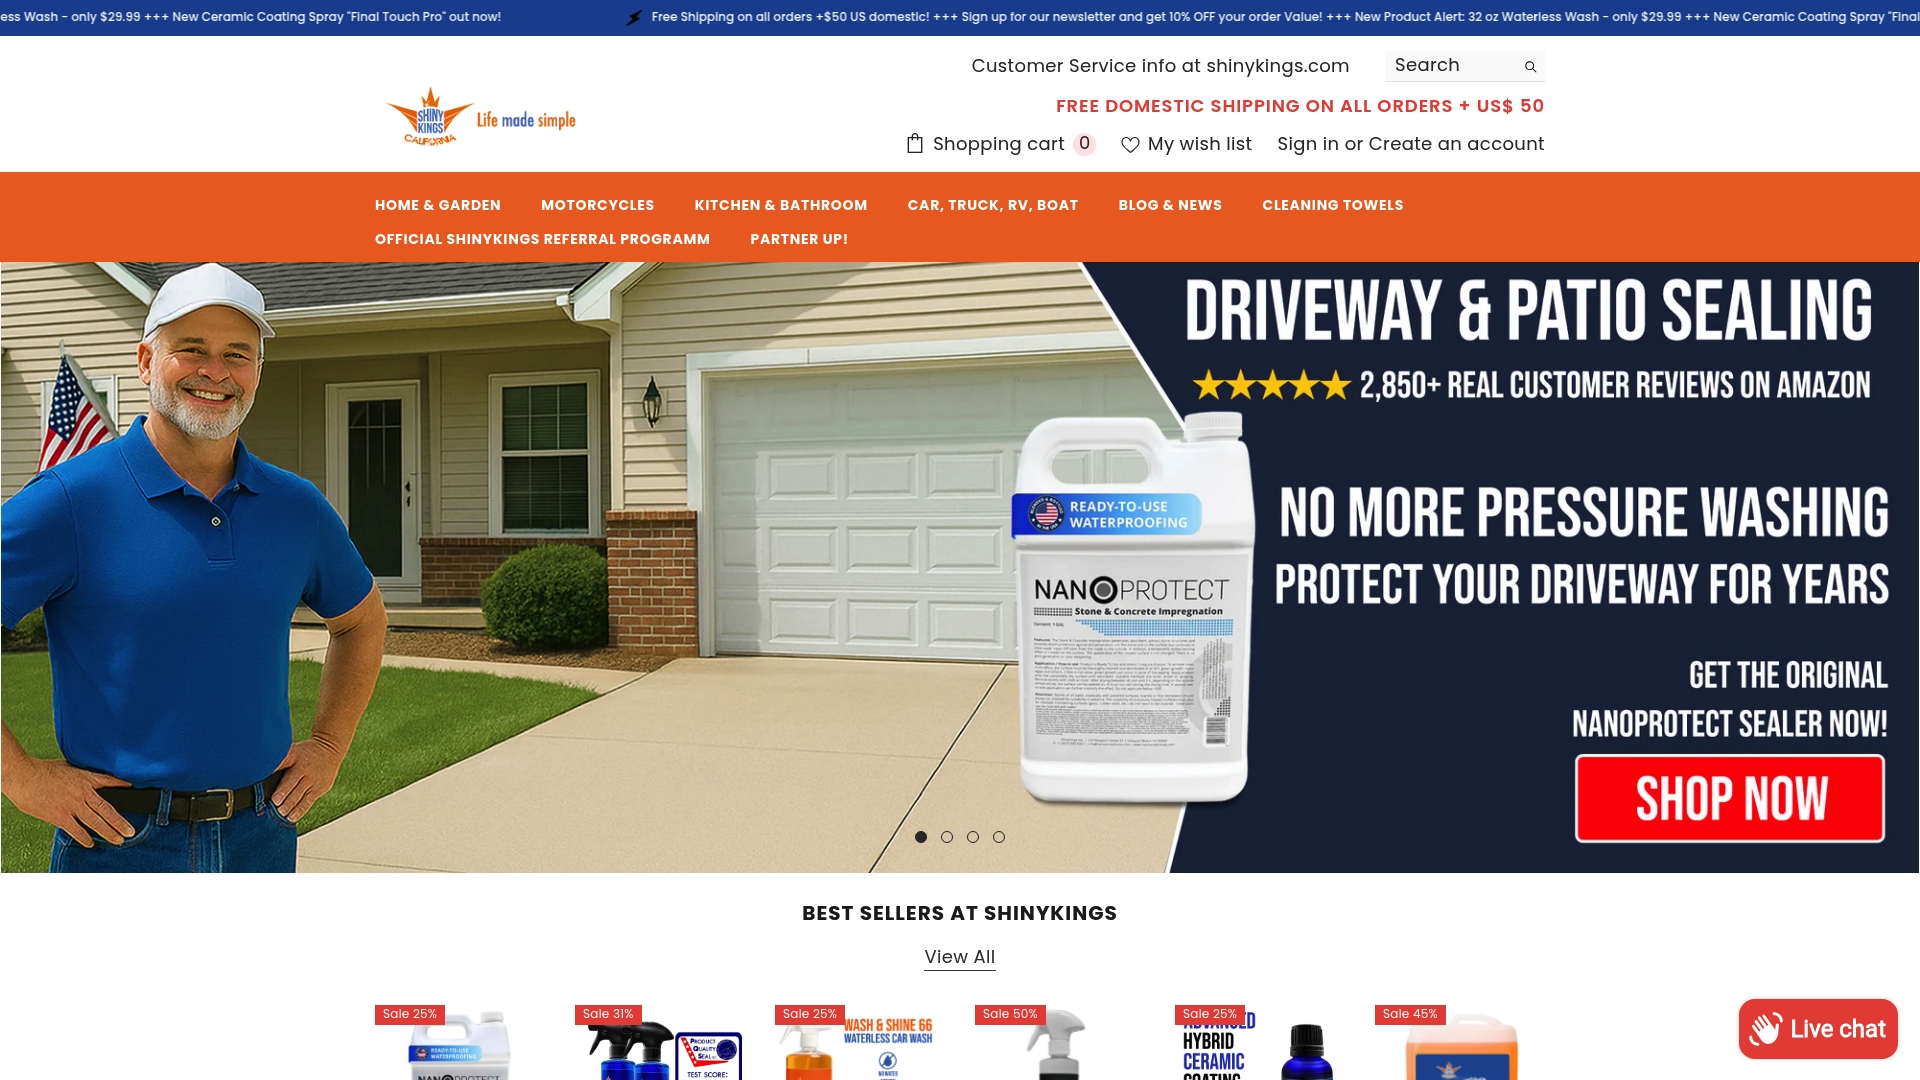
Take the next step to protect your investment and enjoy spotless, weather-resistant pavers with confidence. Visit our Shinykings Best Concrete Sealer & Sealants for Driveways & Patios page for products tailored to each sealing stage discussed in this guide. See the difference our world unique coatings make by exploring more expert resources at Shinykings. Act now to lock in durability and beauty before the next season changes—your pavers will look better and last longer than ever.
Frequently Asked Questions
What is the best way to prepare my paver surface before sealing?
Preparing your paver surface involves thorough cleaning to remove dirt, debris, and organic materials. Use a stiff bristle broom and, if needed, a pressure washer, then allow the surface to dry completely for at least 24 to 48 hours before sealing.
How do I choose the right sealer for my pavers?
Select a sealer based on the material of your pavers and your desired look. Consider options like penetrating sealers for a natural finish or film-forming sealers for enhanced color, and ensure compatibility with your specific paver type.
What technique should I use to apply the sealer evenly?
To apply sealer evenly, choose a roller or sprayer suited to your paver type and work in small sections to maintain a consistent wet edge. Apply thin, overlapping coats and allow 15 to 20 minutes of drying time between each coat to avoid pooling and uneven coverage.
How long should I let the sealer cure before using the pavers?
Most sealers require a curing time of 24 to 48 hours, but you should follow the manufacturer’s instructions for precise timing. During this period, keep the paver surface free from foot traffic and moisture to ensure a complete cure.
What should I look for when inspecting the sealed pavers?
Inspect your sealed pavers under natural light, checking for uniform color and sheen, as well as any signs of moisture trapped beneath the sealer. If you see white hazy areas or uneven coverage, consider touching up those spots before the sealing is fully cured.
How can I extend the longevity of my sealed pavers?
To extend the longevity of your sealed pavers, regularly clean the surface and reapply the sealer according to maintenance recommendations. Establish a routine inspection every 1-2 years to address any wear or damage promptly.